
Using Per-Seat Ordering
Per seat ordering allows you to record details of table orders on a per seat basis.
The process for selecting a table and cover count is unchanged with per seat ordering.
If Use Cover Count is disabled, iServe will take the cover count from the number of occupied seats. If enabled, you will be prompted to enter a cover count when an account is saved to a table. When a cover count has been defined in this way, the cover count is not updated automatically when further seats are added. You must update the cover count manually via the Configuration menu.
To use the per seat ordering features within Aztec iServe, you must ensure that tables are defined in Theme Modelling at Head Office with a default number of seats for each table. Once seats are assigned to a table in Theme Modelling, that table can be used for per seat ordering – no further configurations are required.
Per Seat Ordering requires certain virtual terminal versions, details of which are available in the release notes. If you are interested in using per seat ordering, please contact your Zonal Account Representative.
Ringing up products with per seat ordering
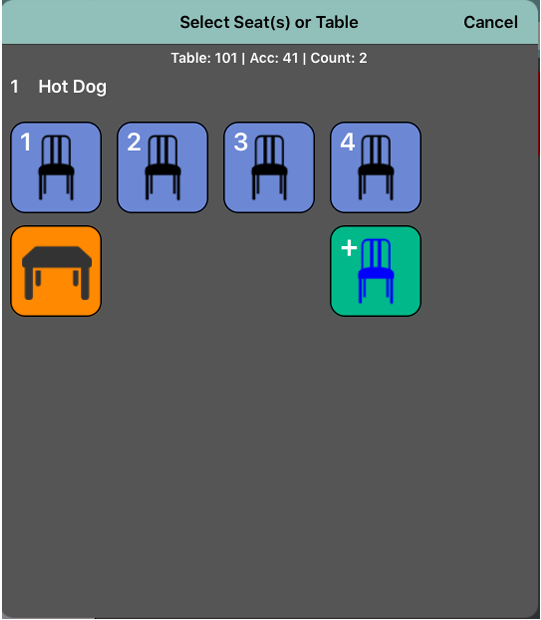
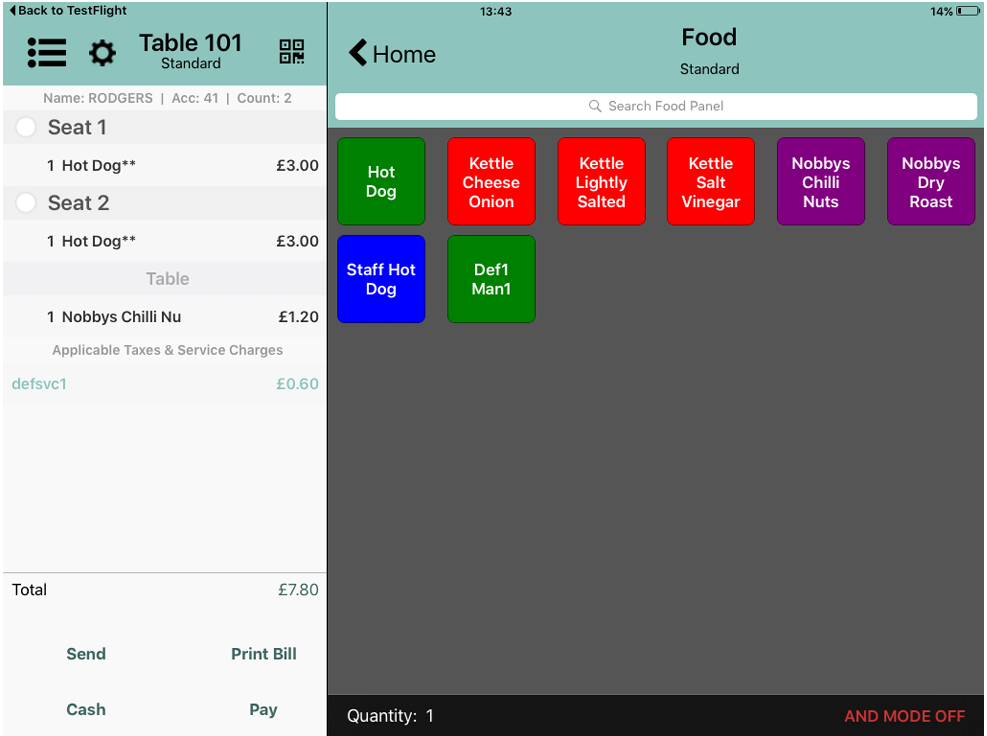
If the selected table has seats, when you add a product to the basket, you are presented with the Select Seat screen. On the Select Seat screen, the seat and table icons are blue when no order has been placed, turning red once an order has been placed.
Once an account has been assigned to a per-seat table, this account cannot be moved to another table by iServe. This can only be done on another POS device.
- Add a product to the basket..
- The Select Seat(s) or Table screen shows the selected product/portion at the top of the screen..
-
Add the product to the required seat/seats/table:
- Press the seat number of the person who ordered the selected product.
- If you want to split the selected product across the entire table, select the Table icon
 .
.
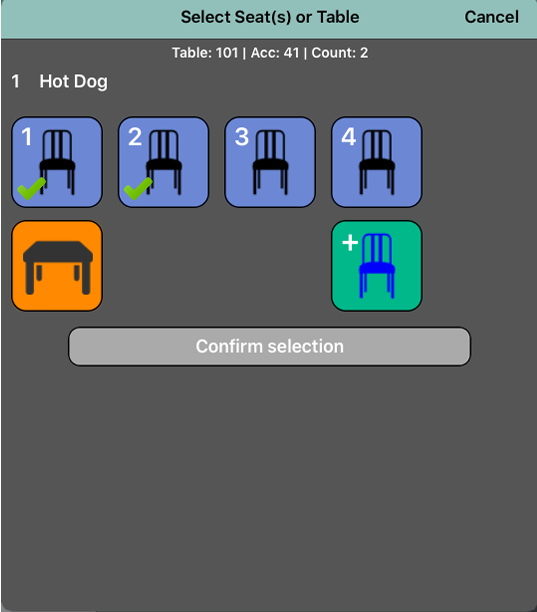
- If you want to split the selected product across multiple seats, press and hold the first seat and then select the additional seats as required. (Selecting a seat for a second time will deselect it.)
-
Press Confirm Selection to save your selection.
-
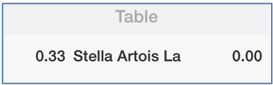
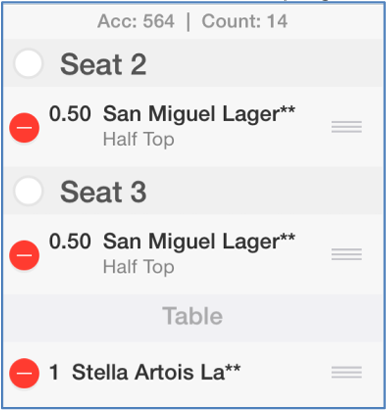
The split items are shown as a decimal fraction, for example 0.50 for items shared across two seats, 0.33 for items shared across three seats. Items rung up against the whole table are displayed under the title Table.
- When an item is rung up against a seat or a table, the icon changes colour to show that is in use.
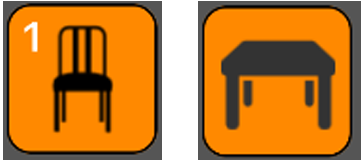
It is still possible to ring up further items against this seat or table..
Adding new seats to a table
If you need to add seats to a table:
- Add a product to the basket as described above.
-
When you are prompted to select the seat, select the Add Seat icon
 .
. - You can add up to six seats to a table. When the maximum number of seats has been reached, the Add Seat icon is greyed out to prevent any further changes to the number of seats
 .
.
If you add seats, but do not place any orders on those new seats, they will not be displayed in Aztec.
Modifying an order
If you have rung up product items in error or assigned them to the wrong seat, you can modify the order in Edit Mode. You can only edit products that are labelled with a **. Once they have one * or no asterisk, they cannot be modified.
Individual products can be deleted or moved to a different seat, but they will always be displayed in the order that they were rung up. (Note that you cannot modify the order of items for a specific seat.)
If you need to split an order line across more than one seat, you must remove the item and reorder it with the required seats selected.
Once a seat has been selected for payment or print, the order lines are communicated to Aztec, so cannot be edited in iServe.
-
Select the Cog icon to enter edit mode
 .
. - The Cog icon spins when in edit mode.
- A Delete button is displayed next to each item that has not yet been communicated to the POS.
- Select and drag any item you want to move to a different seat.
- Press the red delete button to select an item for deletion
 .
. - Press the Delete button to confirm
 .
.
Transferring unsaved items
Any items that have been rung up on an account can be transferred to another account as long as they have not been saved.
When per-seat ordering is enabled unsaved items are handled in the following way:
-
If moving unsaved items from one per-seat ordering table to another with fewer seats, iServe will create the extra seats on which to save the product items.
-
You cannot move unsaved items from a per-seat ordering table to a non per-seat ordering table.
-
If moving unsaved items from a non per-seat ordering table to a per-seat ordering table, all items will be added to the whole table.
-
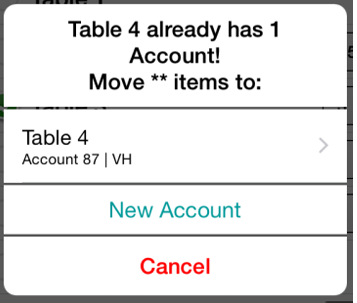
If moving unsaved items to a table with one or more accounts, the user will be prompted to select an account to move the unsaved items or to create a new account for the unsaved items.
Paying seat and table bills
With per seat ordering, the customer can determine how they want to pay off an account. Customers can pay for each seat, groups of seats or the entire table if required.
To pay seat and table bills:
- With the account selected, swipe to the left to display the order summary for the table.
- Select the check-boxes alongside the seat (or seats) whose bill you want to pay.
- iServe will pause for two seconds to give you time to select all the seats required.
- Once a seat has been selected for payment, the total is updated, the order lines are communicated to Aztec and the per seat ordering rules for promotions apply.
- The order lines are now saved and can no longer be edited in iServe.
-
Press Pay to settle the account for the seat/seats/table.
-
After paying off the account, iServe prompts the user to select a table / create a new account or pick up an existing table / account.
Printing seat and table bills
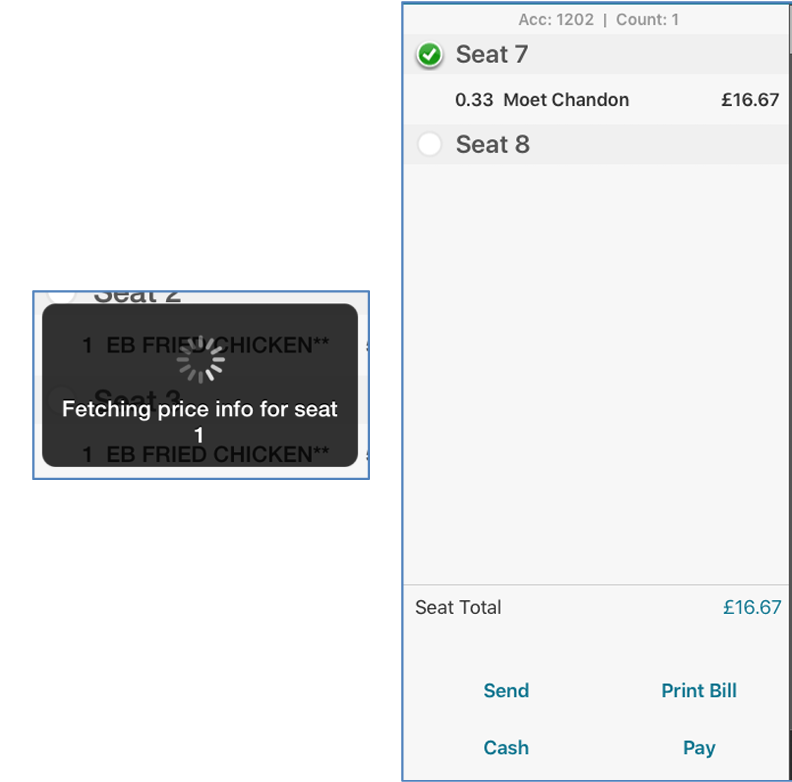
Accounts must be saved before you can print seat and table bills. This can be done either by pressing Send or by selecting a seat on the order summary to confirm its price (thereby saving the whole table).
Bills will be printed on the associated printer, which could be a PED (with an integrated printer) if so configured.
If Print Bill Security has been enabled, once a bill has been printed, the logged in user cannot ring up more products of the same type either by selecting them directly from the panel display or by searching for them. (The search function will not return any results for products already rung up for the selected account.)
Users with sufficient PoS privileges (site managers) are able to release this lock on the POS. Once the lock has been removed, iServe users will need to refresh iServe to be able to select the unlocked products.
To print seat and table bills:
- Press Print Bill at the bottom of the order display.
- The Select bill to print window is displayed.
- Press Print Seat Bills to create individual bills for each seat.
- Press Print Table Bill to create one bill for the whole table.

A check-box in the iServe Configuration application determines whether users can scan voucher codes after a bill is printed. When disabled, the voucher icon is hidden from view after bill printing.